
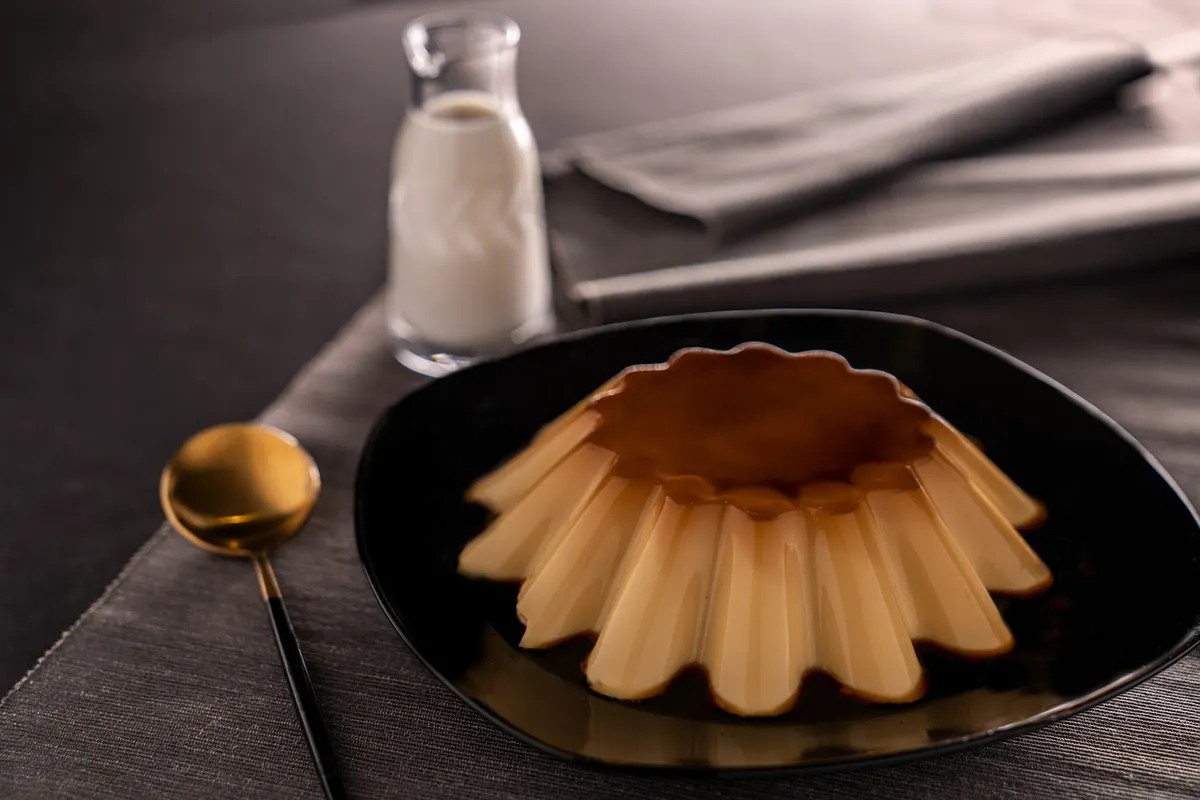
Crème anglaise is the vanilla custard you have eaten a hundred times without knowing its name: the pale sauce poured over a slice of cake, and the base that makes good vanilla ice cream taste rich rather than simply cold and sweet. It takes about fifteen minutes of attention, a thermometer, and a bowl of ice water. Get the tempering and the thickening right once, and every batch after that feels routine.
Why a Custard Base Beats a Plain Cream Base
A custard base — milk, cream, sugar, egg yolks — behaves differently from the simpler cream-and-sugar mixtures sometimes called Philadelphia style. Yolks contribute fat and lecithin, which emulsify the mixture and help hold water in place. In practice that means a denser, creamier scoop that melts slowly instead of collapsing into a puddle, and one that resists turning icy after a week in the freezer. The cost is a few minutes of careful stove work and a mixture that will curdle if you treat it roughly.
The classic ratio is roughly two yolks per cup of dairy. For a pint of finished ice cream, five yolks and two cups of liquid is a dependable starting point.
What You Need
- 240 ml (1 cup) whole milk
- 240 ml (1 cup) heavy cream — or use 300 ml milk and 180 ml cream for a lighter result
- 5 large egg yolks
- 100 g (½ cup) granulated sugar
- A pinch of fine salt
- 1 vanilla bean, split and scraped, or 2 teaspoons vanilla extract added later
On the equipment side, you want a heavy-bottomed saucepan, a whisk, a heatproof bowl, an instant-read thermometer, a fine-mesh strainer, and a silicone spatula that can sweep the corners of the pan. Set a larger bowl of ice water nearby before you start. If you are cooking for anyone who needs to avoid raw egg — young children, pregnant women, people with weakened immune systems — use pasteurized eggs and still cook the custard fully.
Step One: Warm the Dairy and Infuse the Vanilla
Pour the milk and cream into the saucepan. Add the split vanilla bean and its seeds, then heat over medium-low until the surface steams and small bubbles ring the edge. Do not let it boil. Pull it off the heat and let it sit for ten minutes so the vanilla has time to work. If you are using extract, save it for after cooking, where its aroma survives intact.
Step Two: Temper the Eggs
Whisk the yolks, sugar, and salt in a bowl for a minute or two, until the mixture lightens and thickens slightly. Now comes the part that decides whether your custard is silky or scrambled. Ladle a small splash of the warm dairy into the yolks while whisking constantly. Wait a few seconds, then add another splash. Once the bowl feels warm to the touch, you can pour the rest of the dairy in a thin, steady stream, still whisking. Rushing this is the single most common way to ruin a custard, so keep the first three additions small.
Step Three: Cook to Nappe
Return everything to the saucepan. Cook over low heat, stirring without stopping — a figure-eight motion with the spatula, scraping the bottom and the corners, works well. You are looking for two signs at once.
The temperature
Aim for 77–79°C (170–175°F). At that point the custard has thickened enough to coat a spoon and the eggs are safely cooked. Never let it climb past 85°C (185°F), where the proteins tighten and the mixture turns grainy.
The spoon test
Dip a spoon in, pull it out, and draw your finger across the back. A finished crème anglaise leaves a clean line that holds its edges. If the custard runs back over the track, keep going for another minute or two. Expect this stage to take five to eight minutes; if the thermometer seems stuck at 71°C (160°F), be patient rather than turning up the flame.
Step Four: Strain, Chill, and Age
Pour the custard through the fine-mesh strainer into a clean bowl. This catches any stray bits of cooked egg or vanilla pod, and it is worth doing even if the custard looks perfectly smooth. Set the bowl into the ice bath and stir occasionally until the temperature drops below 4°C (40°F), then stir in the vanilla extract if you are using it. Press plastic wrap directly onto the surface to prevent a skin from forming.
Now let it rest in the refrigerator, ideally overnight and at least four hours. This aging step lets the fat crystallize and the proteins hydrate, which gives you a smoother churn and a fuller vanilla flavor. Custard churned straight from the warm pan tastes thin by comparison.
Step Five: Churn and Freeze
Churn the cold base in your machine until it looks like soft-serve — usually twenty to twenty-five minutes in a standard home machine. Transfer it to a chilled container, press a sheet of parchment onto the surface, and freeze for two to four hours to firm up. Homemade ice cream with this much fat and sugar freezes softer than commercial ice cream, which is normal. Let it sit on the counter for five minutes before scooping.
When It Goes Wrong
- A few flecks of cooked egg: strain and carry on. Small amounts are invisible after churning.
- Custard looks grainy throughout: it overheated. Blend it briefly while still warm, then chill and taste before churning. If it tastes eggy and looks separated, start again.
- Still thin after eight minutes: it is undercooked. Return it to low heat and keep stirring to 77–79°C.
- Icy, hard scoop: the base was churned too warm or not aged long enough. Chill it thoroughly next time.
- Strong egg flavor: too many yolks or too much heat. Reduce to four yolks and cook more gently.
Your First Batch, Practically Speaking
Make it once with nothing but vanilla so you learn what the custard should look and taste like at each stage. Taste the chilled base before churning — it should be slightly sweeter and more intensely vanilla than you want the finished ice cream, because freezing mutes both. From there, the same base takes infusions easily: steep a split vanilla bean with a few strips of orange zest, or swap the extract for a tablespoon of bourbon or rum, which also keeps the final scoop softer. Once you can make crème anglaise without watching the clock, you have a base that carries almost any flavor you throw at it.
Photo: Msobaidi / Pixabay